Setting up the Dialog UI
-
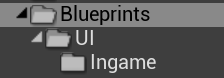
Go to the Blueprints folder and create a folder called UI, and in there a folder called InGame. Enter that folder.
- Create a blueprint class that is based on BaseDialogBoxWidget and call it W_DialogBoxWidget.
- Open the widget
- Design the widget however you like
- Add a rich text block to the widget named DialogText
- Set its text style set to DT_DialogTextStyles
- Add a rich text block to the widget named CharacterNameText
- Set its text style set to DT_DialogTextStyles
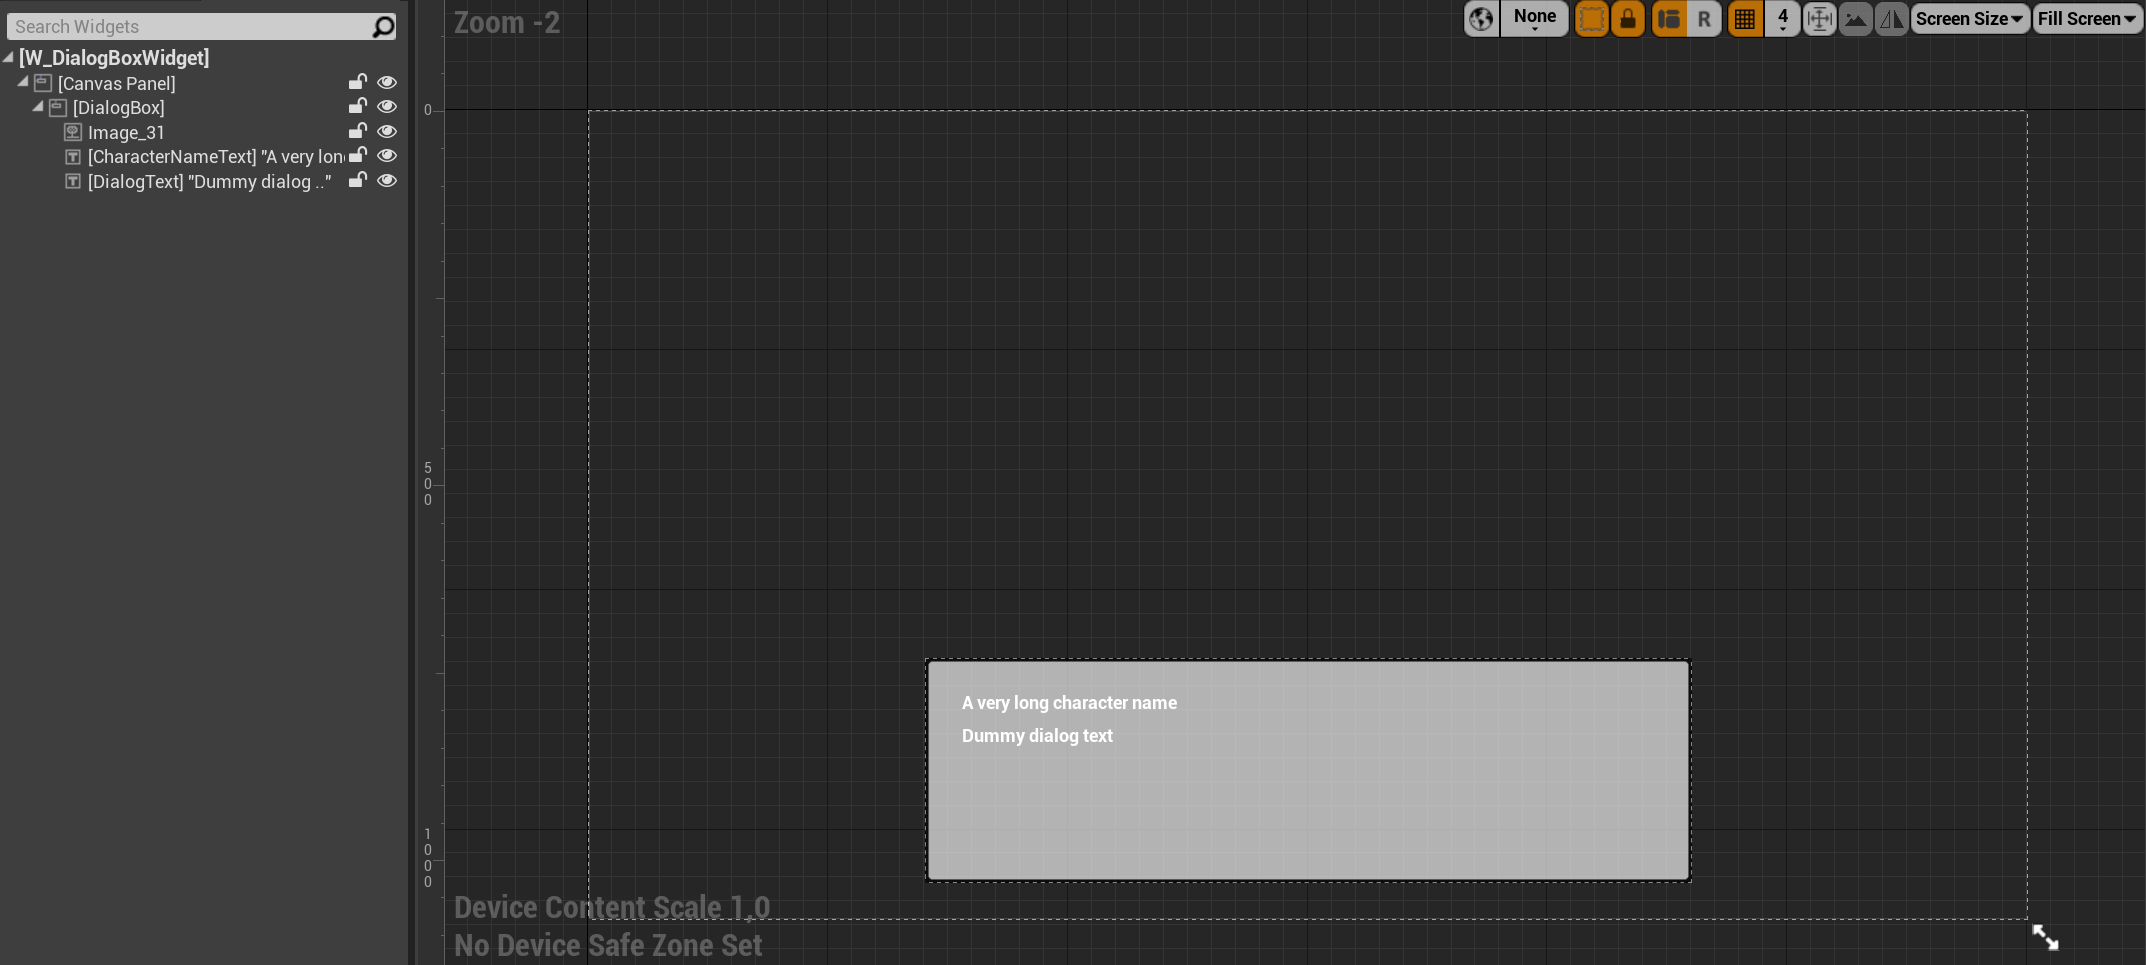
- Add a rich text block to the widget named DialogText
-
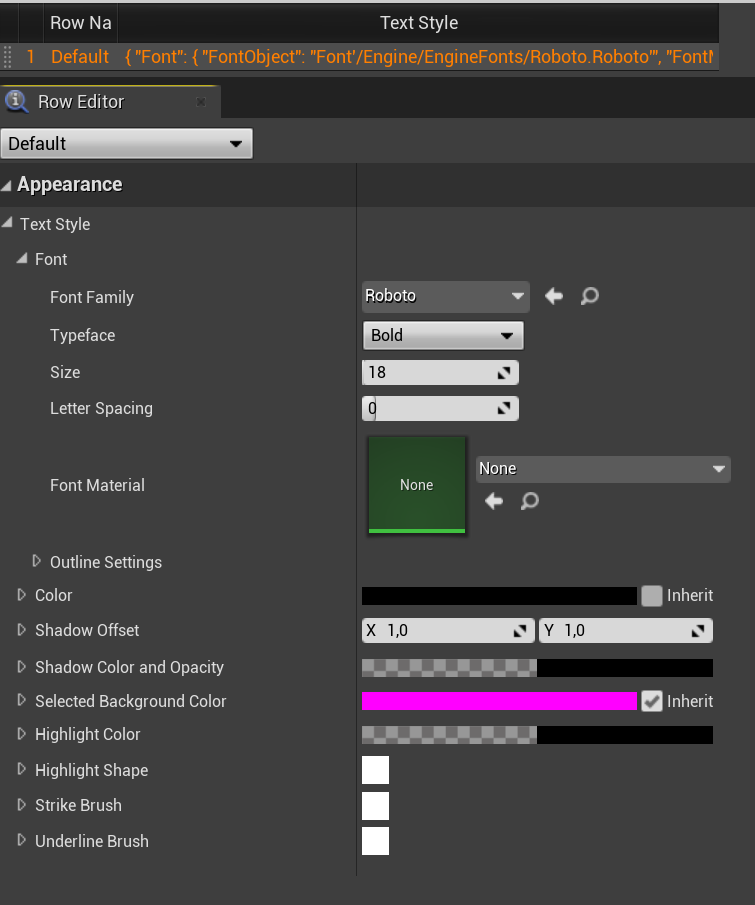
Add a row called “Default” to DT_DialogTextStyles and customize it to your liking. This will be how your dialog text gets displayed without any tags.
- Create a blueprint class that is based on BaseChoiceButton and call it W_ChoiceButton.
- Open the widget
- Design the widget however you like
- Add a button to the widget named ChoiceButton
- Add a text block to the widget named ChoiceText

- Create a blueprint class that is based on BaseChoiceWidget and call it W_ChoiceWidget.
- Open the widget
- Design the widget however you like
- Add a vertical/horizontal/… box to the widget named ChoiceButtonsList

- In the settings of the widget set the Choice Button Class to W_ChoiceButton
- Create a blueprint class that is based on HUD and call it BP_InGameHud.
- Open the blueprint
- Add the component Dialog Controller
- In the settings of the component set the Dialog Box Widget Class to W_DialogBoxWidget
- In the settings of the component set the Dialog Box Widget Class to W_ChoiceWidget

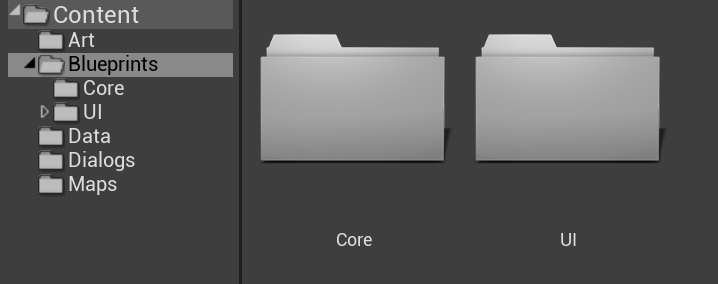
- Navigate back up to the Blueprints folder and create a folder called Core. Enter that folder.
- Create a blueprint class that is based on BaseGameMode and call it BP_InGameGameMode
- Open the blueprint.
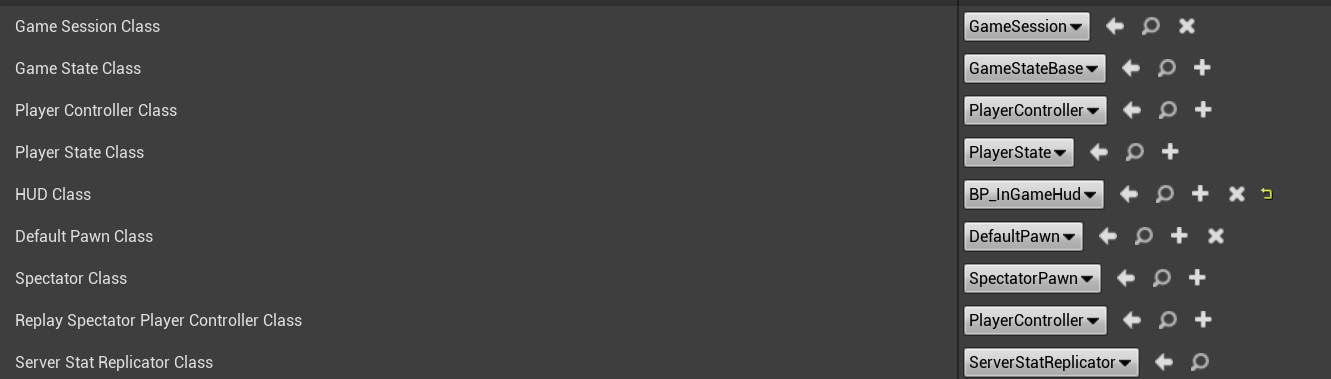
- Set the default hud class to W_InGameHud
- Navigate to the Maps folder
- Create a new blank map and call it InGameLevel
- Open the level
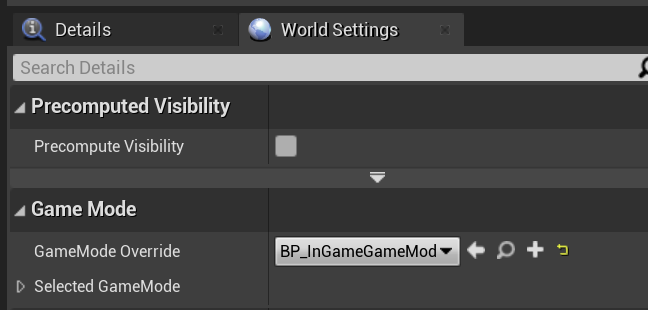
- Open the World Settings Panel
- Set the Game Mode Override to BP_InGameGameMode
- Create a new blank map and call it MainMenu
- Go to the project settings and navigate to maps & modes
- Set the Game Default Map to MainMenu
- Navigate to the Visual Novel Machinery in the plugins category
- Set the Main Menu Level Name field to MainMenu


Next up is setting up the character UI.