Animations
No movement in a game can also be great, but sometimes an entrance of a character can be made even greater with some animations. For this the Visual Novel Machinery offers a few different options for animations for characters/CGs/scene backgrounds/the dialog box.
Basics
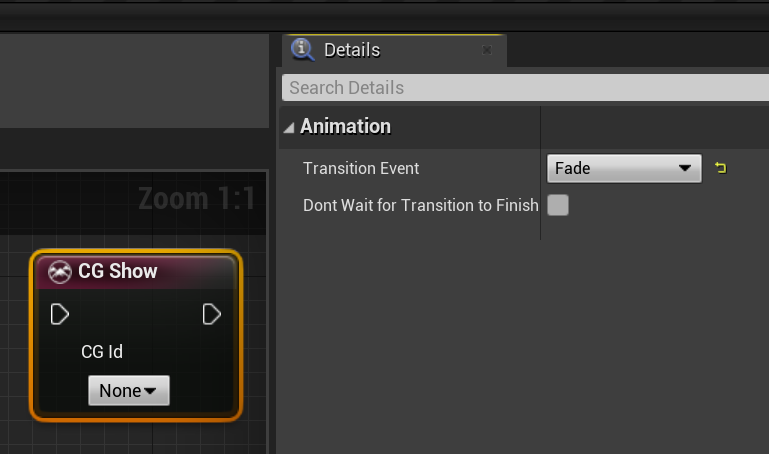
For this example we’ll use the CG Show Node, but it also applies to all other Show/Hide nodes and Dialog Window Control Node. If something transitions in or out, Visual Novel Machinery offers something called Transition Events. So set a transition event, click on the node and check the Details Panel for the Transition Event option. These animations need to be set up in the UI widgets. If you are using the Blank Project Template, then these are all already setup for you. You can always also modify them if you want.
There are multiple events supported by the plugin which are:
- Fade: Fades in/out from black within 0.5s
- Dissolve: Fades to the next image, if an image is already shown, within 0.5 seconds. Otherwise fades to transparent
- Zoom: Zooms the image in/out in 0.5s
- Punch: Shakes the image diagonally from top left to bottom right for 0.5s
- VPunch: Shakes the image vertically for 0.5s
- HPunch: Shakes the image horizontally for 0.5s
- Custom: More below

cg.show -transition=Fade
Once a transition has been selected, an additional checkbox will appear, the “Don’t wait for transition to finish” checkbox. If this checkbox is set, then the game will automatically proceed to the next node. This can be useful if you for example dont want for a CG to finish appearing or disappearing for proceeding in the story.
cg.show -transition=Fade
With Dialog Text Nodes, animations are also available, as these are able to show characters in different emotions, and therefore allows to play transition events as well for the characters.
Custom Animations
As seen above, there is also the option to use custom Widget Animations. For this select the option “Custom”.
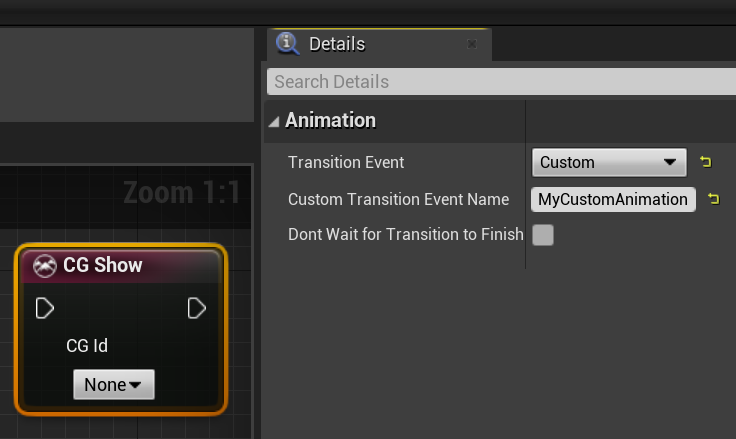
cg.show -customtransition=MyCustomAnimation
After selecting this, a Custom Transition Event Name Field will appear. In this field you can specify the widget animation that should be used. This widget animation needs to be specified in the correct widget. See the table below to match the correct nodes with the correct widget:
| Node Name | Widget Type | Blank Project Template Blueprint |
|---|---|---|
| CG Show Node | BaseCGDisplayWidget | W_CgDisplayWidget |
| CG Hude Node | BaseCGDisplayWidget | W_CgDisplayWidget |
| Scene Background Show Node | BaseSceneBackgroundDisplayWidget | W_SceneBackgroundDisplayWidget |
| Scene Background Hide Node | BaseSceneBackgroundDisplayWidget | W_SceneBackgroundDisplayWidget |
| Character Show Node | BaseCharacterDisplayWidget | W_CharacterDisplayWidget |
| Character Hide Node | BaseCharacterDisplayWidget | W_CharacterDisplayWidget |
| Dialog Window Control Node | BaseDialogBoxWidget | W_DialogBoxWidget |
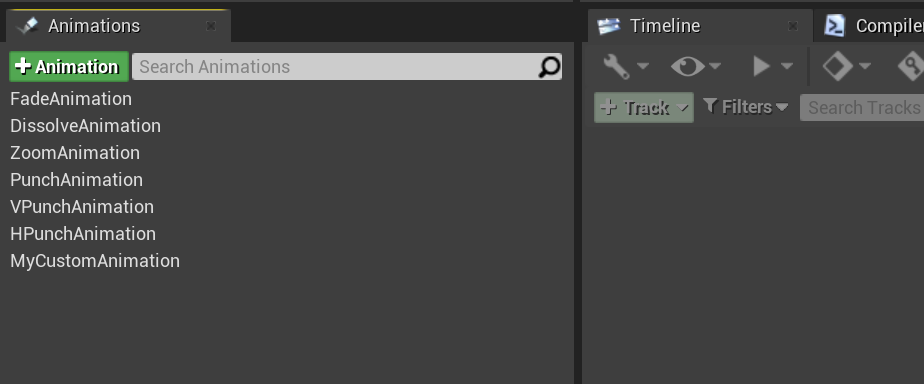
In the blueprint for the CG Show Node, in this case W_CgDisplayWidget, make sure you have defined the animation. If you do not do so, the system will log an error.
After having set this all up, your widget will now play the animation forward, if something is shown, or backwards, if something gets hidden.
Character Move
There is also another form of animation that has nothing to do with the system described above. This system is used for when moving a character to a different position. Per default, the character is teleported to the new location onscreen. The Character Move Node however also offers the option for the character to slide to the new position. If this behavior is desired then the “Move with Animation” option needs to be checked.
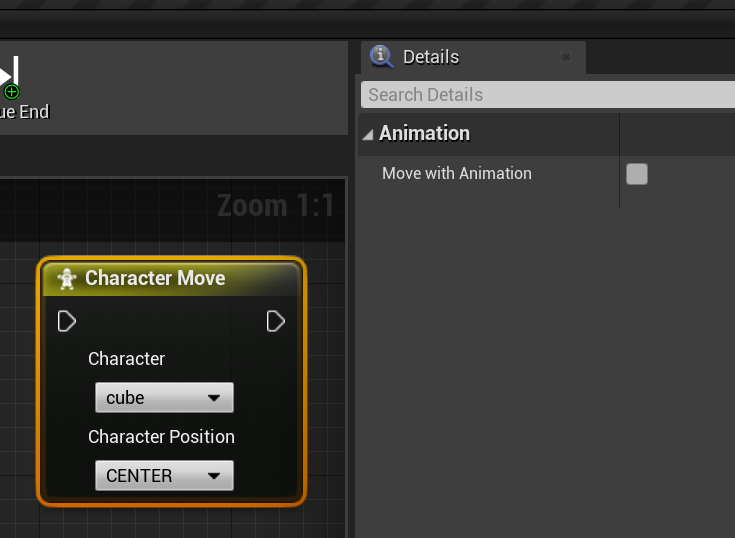
character.move -id=cube -position=CENTER -animated